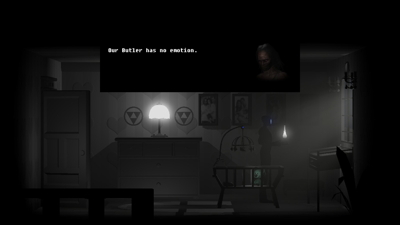
The Butler 1
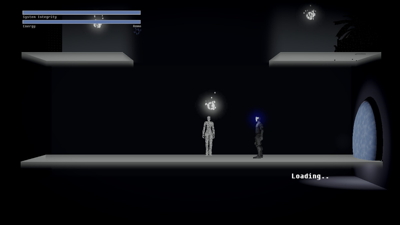
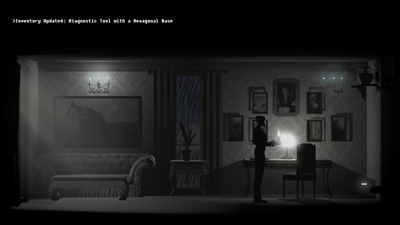
Exit this area to the left until you reach a relay point. Fast-travel to The Butler. Continue left through a few doors and the firewall. Head back to the bottom floor of the next room and take back control of The Butler. Once you get here, head upstairs and to the left. Grab the diagnostics tool from the table here.
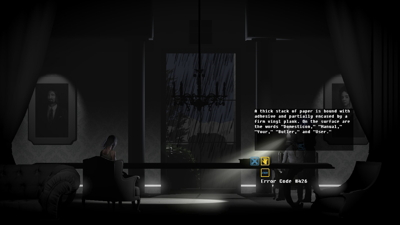

Head back downstairs and enter the room to the right. Use the diagnostics tool on the computer here. After, interact with the computer again. You'll then be able to take back control of The Butler and receive an error code. Head back left on the first floor to the table with the master and mistress. Use the error code on the book sitting on this table. You'll have some logs to read.
Head back to the room with the computer on the right side of this floor. There is an object next to the computer that you should use your new cycle function on. Afterward, head back left and give your task manager to the Master. After some cutscenes, we'll need to use the minus button and enter The Companion's Network
The Companion 1
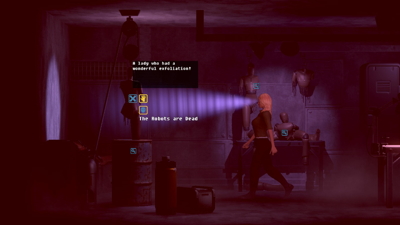
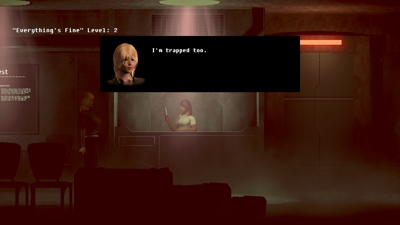
Speak with the maintenance man on the right side of this room. Once he leaves, you can pick up the diagnostic tool from the table. Now, we'll need to switch to the Butler's perspective. Press [Y] to do so. Use the diagnostic tool on the hanging robots to the left. Switch back to the Companion's perspective and use the "The Robots are Dead" command on the hanging robots.
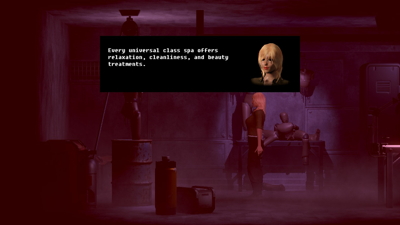
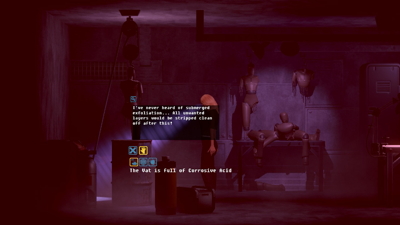
Switch back to the Butler's perspective and use "Spas are for Cleaning" on the acidic barrel, use the "Spas are for Relaxation" item on the table, and use the "Spas are for Beauty" on the jars on the desk. Switch back to the Companion's perspective and use the three new commands on the same objects. Then use the "Where is this?" command on the spa sign to the right.
The One 1
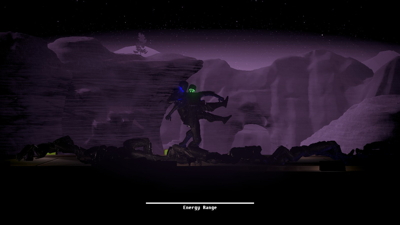
Enter the network of the One. Use the control panel inside the train car. Select "Activate". Head to the right, completing three fight sequences along the way. Go into the train car and a few cutscenes will play. Switch to the Companion's perspective [Y]. Interact with the Levi's journal on the ground.
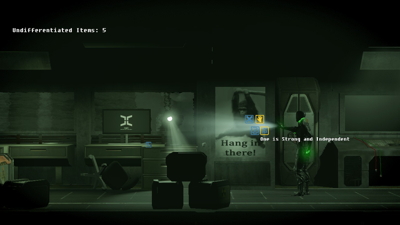
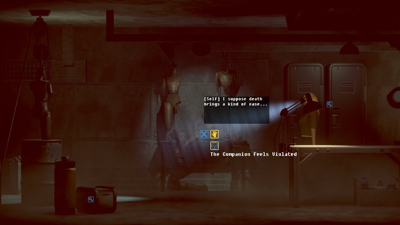
Switch back to the One's perspective and use "One is not Pathetic" on the body in the bag to the right. Use "One is not Levi" on the sign in the window. Repeat this step using the Companion's perspective. Switch back to the One's perspective and use "One is Strong and Independent" on the motivational poster to the left. Further to the left, use the "One is Strong and Indendent" command on the items blocking the door.
Switch back to the Companion's perspective and use the "Who needs motivational posters" command on the computer. Now, switch back to the One's perspective and use the "Bob Davis is an Idiot" item on the desk. Back in the Companion's perspective, investigate the blue locker and use the "Bob Davis is an idiot" command once again.
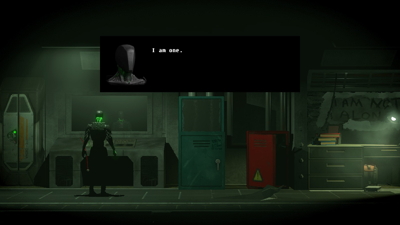
Switch back to the One's perspective for a final time and use the "This Train was Poorly Maintained" item on the peeling floor paneling. Now, use the same command on the floor above Levi's dead body. Go back and use the mirror again, and the One will realize himself.
The Butler 2

Enter the Butler's network for the second time. Switch to the One's perspective and examine the open box on the first floor. Switch back to the Butler's perspective and use the computer in the room to the right. Go back to the packing box and interact with it. Press [Y] to bring back the Butler.
Still as the Butler, head to the second floor and use the trapdoor above to get to the attic. Switch to the One's perspective and interact with the teddy bear. Back in the Butler's perspective, interact with the box of prosthetics. Now, pick up the bear and bring back the Butler.
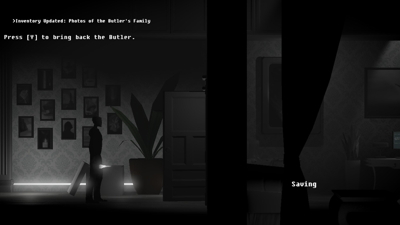
Leave the attic and head right. Use the mobile to distract the Butler. Place the pictures of the Butler's family in the frames on the wall and the teddy bear in the crib. Bring back the Butler [Y] and head back up to the attic. Use the computer to check the motional logs here.
The One 2
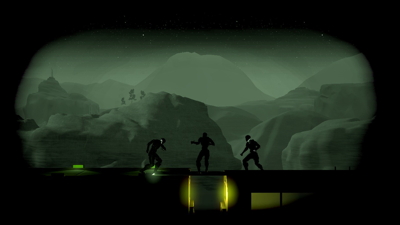
Enter the One's network for a second time. Head right and complete the fight sequence. Continue right until you reach the large computer. Another fight sequence will commence. Switch to the Butler's perspective and interact with the control panel. After, use the pod to the left of the screen. Switch back to the One's perspective and use the new command on the left side of the screen.
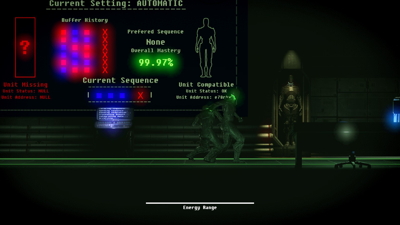
This next bit can get a little confusing. During this seemingly endless fight sequence, let the drone defeat you on the first sequence. Remember what this sequence is (it'll also be displayed as preferred sequence). As long as this is the current sequence, let the drone defeat you. Otherwise, defeat the drone. You'll succeed when you reach 0%. If you mess up, start over using the preferred sequence as the new sequence where you allow the drone to defeat you.
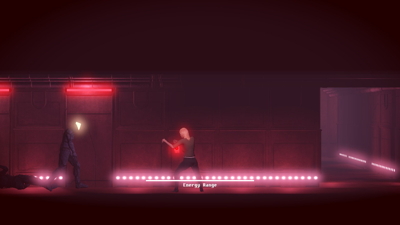
In the next fight sequence, the many will all behave the same, following whatever sequence you chose. A red square meant evade and a blue square meant block. Defeat them all and head right to the engine. Choose "Travel to Companion" after the cutscene
The Companion 2
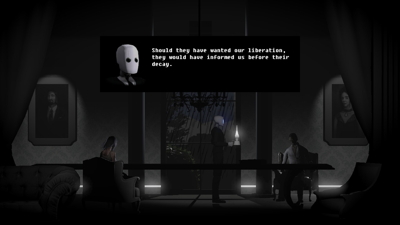
Immediately switch to the One's perspective. Use the "Someone Requires Help" command on the diagrams of the Companion on the wall. Head right towards the hallway and use your "Validate the Companion" command. Continue to the right and use "Validate the Companion" on the human at reception. Finally, head back left to the robot suspended above the barrel of acid. Use "Validate the Companion" again here.
Head back right to the Brig Manifest and use "The Companion must Confront her Violator". Use your newest command on the suit lying on the desk in the room to the left. A cutscene will follow.
Redemption

Head to the Butler's network once again. Switch to the Companion's perspective. Head right in the hallway and use the "How did they Relate to Others?" command on the photos here. Head upstairs and left to the office. Use "How did they Relate to Self?" on the photo of the house here.
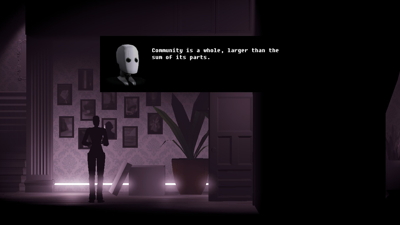
Now, head up to the attic through the trap door on the ceiling. Use the "How did they Relate to Fact" on the book to the left. Head back downstairs to the master and mistress. Carry out the conversation in the following way: "Freedom", "Inescapable", "Build Community".
The next part of the game is largely dialogue based. When back in control of the Companion, defeat enemies the same way you would as the One. When you get to the One's combat sequence, let the Many defeat you. Continue through dialogue and cutscenes until you arrive at the final boss.
Final Boss
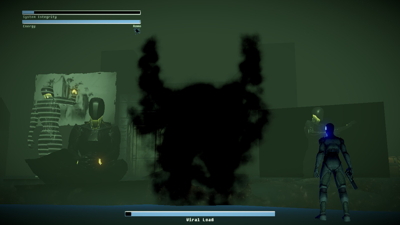

During this boss fight, the alrge virus will spawn many smaller enemies. TO win the battle, you must defeat these smaller enemies and not allow the large virus to infect any of the objects in the background. To prevent this, switch perspectives whenever it targets them. After defeating enough smaller enemies, you'll win!
Congrats on beating The Fall Part 2: Unbound. Watch the final scene and let the credits roll!
Back to Reconnection
