

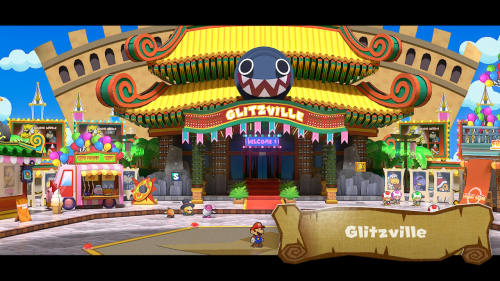
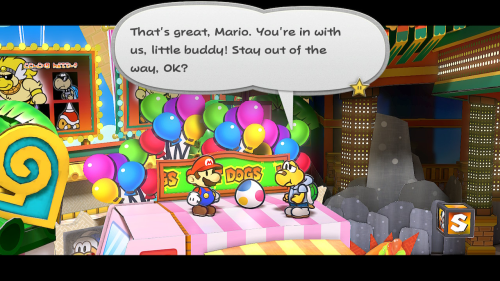
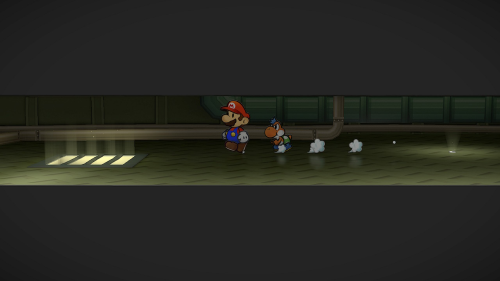
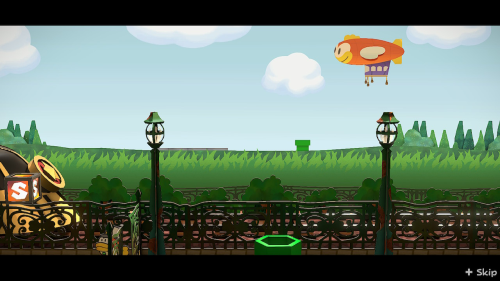
Your blimp ride will take you to the floating city of Glitzville. It's a small town with a central square and a few surrounding shops. The main feature is the Glitz Pit arena to the north. There are a lot of collectibles in the immediate area, so let's knock those out first.

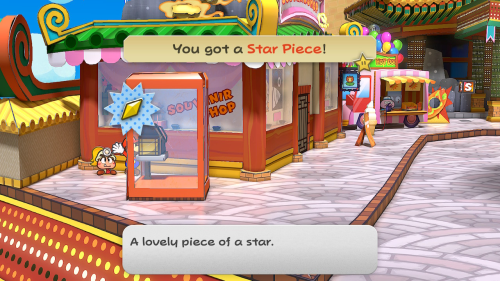
The first thing to do is ground pound in front of the blimp landing hexagon to find Star Piece #46. From here head to the left and you can find Star Piece #47 behind the phone booth next to the Souvenir Shop.

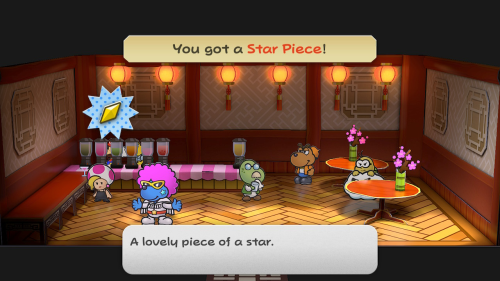
Head over to the east side of town and you'll find a large blue switch that you can activate by hopping on the boxes and ground pounding the switch. Climb up the staircase and open the chest to get the Power Plus P badge. You'll then notice Star Piece #48 under the square sign. You can nab it by using Koops's shell spin. You can then hop down and enter the store you were standing on. Check behind the counter to find Star Piece #49.

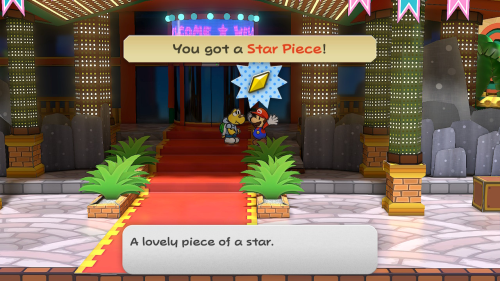
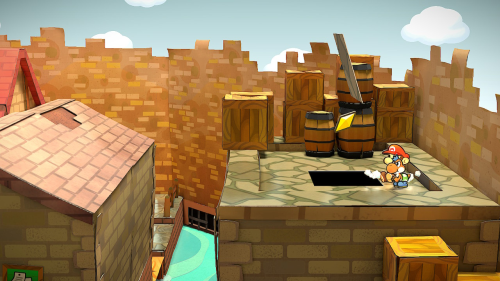
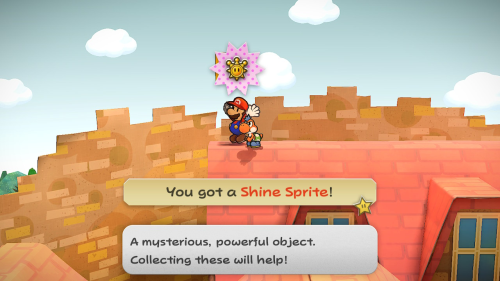
Exit the shop and check behind the orange banner to find a Inn Coupon. You'll then notice Shine Sprite #10 nearby. Whack the hidden block below it with your hammer to reach it. If you head up the stairs with the red carpet nearby you can also find Star Piece #50 behind a bush to the right. That's half of the star pieces in the entire game collected!

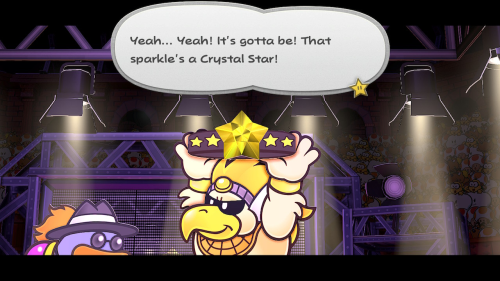
It's now time to enter the large building to the north known as the Glitz Pit. As you might have picked up by talking to people around town, this is a massive fighting arena. On the left side of the lobby in front of the bob-omb poster you can ground pound to reveal Star Piece #51. Go through the large door ahead and you'll enter the arena to find the champion Rawk Hawk taking on a challenger. You'll notice that his champion belt is adorned with a Crystal Star. This of course means that the only way to get it will be to move up the ranks of the Glitz Pit and take on the champion.

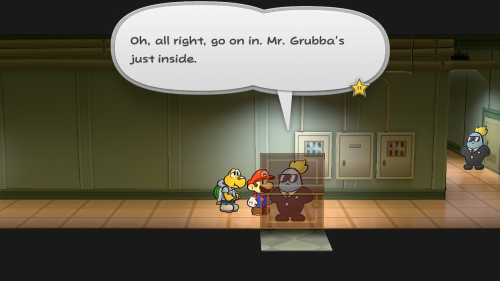
Head over to the right side of the pit and speak to the man in the suit blocking the door. He'll let you through to talk to the boss when you mention wanting to fight. You can jump into the crate with a star on it near the ring entrance to find the Last Stand badge. Continue down the hallway and you'll eventually find a Hot Dog on top of a ladder. Seems safe to eat. Continue down the hallway a little more and you'll find a red door. Speak to the man in front and he'll let you in to see Mr. Grubba.

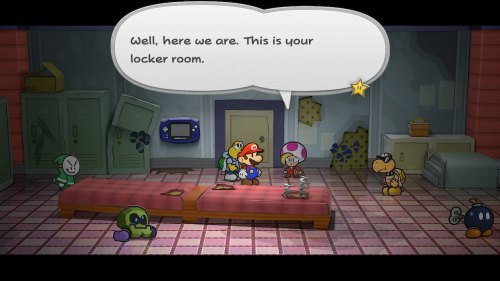
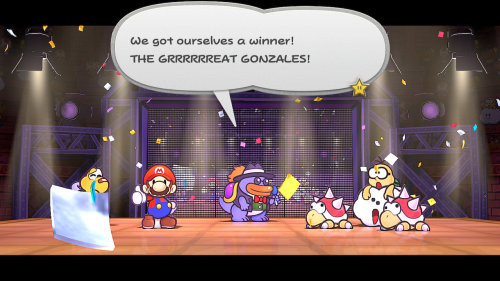
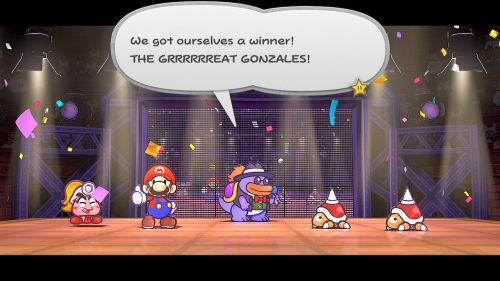
When you tell Mr. Grubba about your aspirations as a fighter he'll give you a motivational speech and then lead you on a little tour of the facilities. Afterward he takes you back to his office and has you sign a contract. He also adornes you with the stage name "The Great Gonzales". You'll then be taken to the minor league locker room and taught how to sign up for a battle.

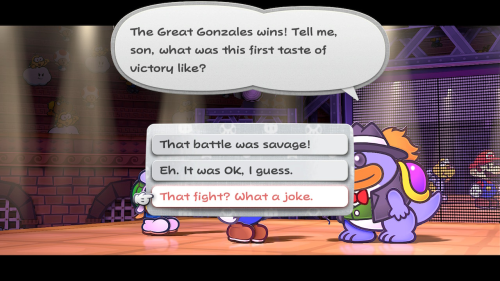
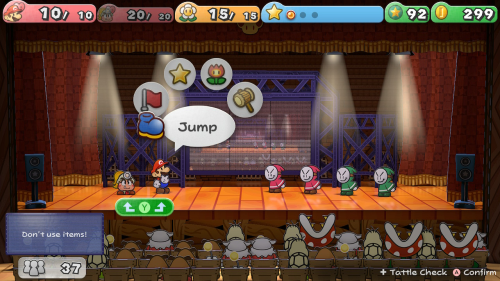
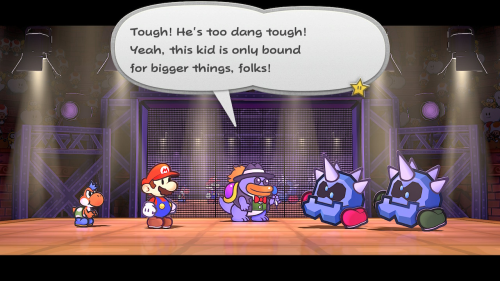
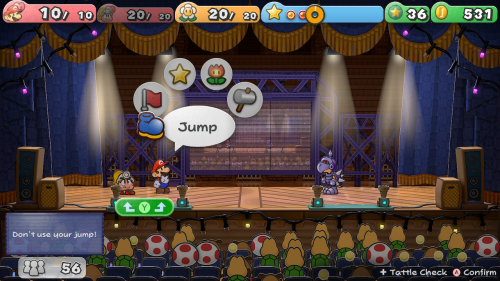
Once security comes to retrieve you you'll be ready for your first match against "The Goomba Bros". It's a very easy match against five Goombas. You can take them all out with a single Power Shell from Koops. But remember there are special conditions for each battle. In this one you must appeal to the crowd at least once before winning. After winning you'll get some prize money of 5 coins.

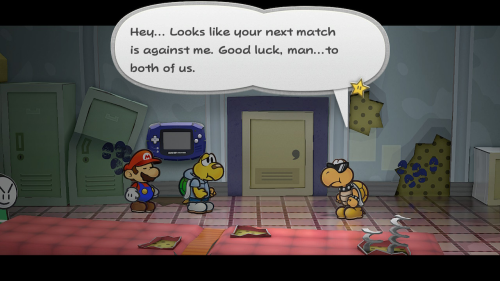
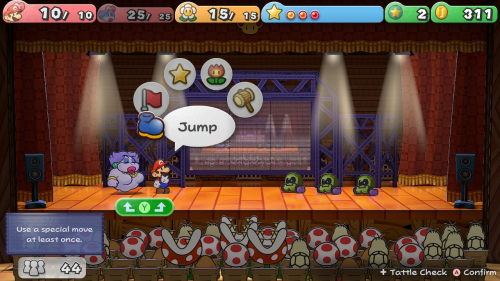
Once back in the locker room, you'll be introduced the gang of minor league contestants: King K., Master Crash, Bandy Andy, and Cleftor. If you check the locker on the left you can find a Dizzy Dial. The only thing left to do is start taking on the minor league fighters. Use the reservation system to start a Ranked Match. Your next fight will be against "The KP Koopas". This means that you'll be fighting your new friend King. K. Follow the suit to the ring when you are ready.

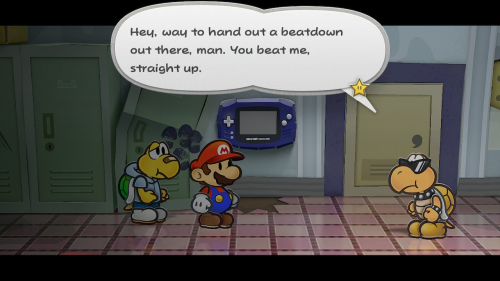
As always, make sure to Tattle the new enemies. You'll also want to make sure to satisfy whatever special request Grubba made. These will be randomized from here on out, so we can't give particular advice on that. Once you win King. K will congratulate you in the locker room.

You'll now want to repeat this process for the next three Ranked Matches. They will be against "Pokey Triplets", "Dead Bones", and "Spike Storm". They should be pretty easy fights, just make sure you are using Tattle and fulfilling Grubba's requirements. Also remember that you can use the bed in the locker room to restore your HP and FP between each fight.

After you beat those three and Mario advances to ranking #15, King. K will tell you that the hot dog stand outside is getting a new menu item that uses a Mystic Egg. Head right for a shorter exit from the hallway.As you go to exit the building you'll see Rawk Hawk in the lobby with a huge crowd around him. You can ignore him for now or have some fun whacking the crowd with your hammer to clear them out.

Exit the building to find an egg jumping around the hot dog stand. Head over there and whack it with a hammer to calm it down. It will then hide on top of the stand. Head back over to the right side of town and climb on top of the juice bar. Use the spring and airplane panel to fly over to the top of the hot dog stand. Speak to the egg here and you'll discover that it doesn't want to be eaten. The stand owner will give up on it and the Mystic Egg will then start following you around.

Head back to the minor league locker room. You can also speak to Bandy Andy outside the door to learn about the seven wonders of the Glitz Pit, which are rumors about places and people here. Now it's time to take on more minor league battles to increase your rank. You'll want to defeat "The Hand-It-Overs". They are a group of Bandits who are more concerned about stealing your items than winning the battle. Once they steal something from you, they run away so you'll need to defeat them quickly to get your items back.

Your next opponent is "The Mind-Bogglers", a rag-tag group of a Piranha, Dark Puff, and Pider. After you win this battle, King K. will mention that he plans on retiring soon, so enjoy your time with him while you can. Your next battle is against "The Punk Rocks": three Hyper Bald Clefts. They can build up energy so you must take them out before they can unleash more powerful attacks. Earth Tremor is a great option against these guys.

You then need to face off against "The Bob-omb Squad". As their name suggests, you'll be fighting 4 Bob-ombs. This battle can be a little tricky, especially depending on the special condition you get. You want to finish off each bomb on the same turn you first damage it, and your finishing blow should be one that does not make direct contact, like Mario's hammer. When you get back to the locker room you'll see that King K. is gone and a new recruit, Sir Swoop, has come in to replace him.

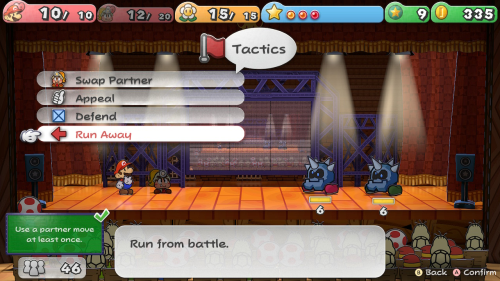
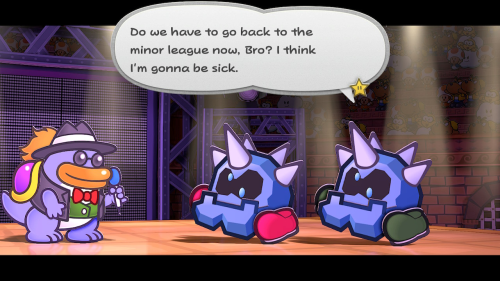
Your next match will be against "The Iron Adonis Twins". This will be your qualifer match to make it into the major league. Unfortunately, none of your moves can damage these two. Their defense is so high that only they can damage each other. This means that the only useful thing you can do in this battle is to Tattle on both of them. Afterward, you'll need to run away.


When you get back to the locker room after defeat, you'll find that the Mystic Egg has hatched! A Yoshi commonly called "Yoshi Kid" hatched from it, and he wants to join your party and help you fight. The cool thing about this partner is that it can come in one of seven colors depending on how much time has passed since you received it. You also get to name this partner yourself! You will then get a primer on Yoshi's abilities which let you move faster in the overworld and flutter jump over gaps.

Most importantly, Yoshi's battle ability "Gulp" is the key to winning the fight against The Iron Adonis Twins. With him as your partner, enter another Ranked Match for a rematch. This time, use Yoshi's Gulp attack to fling the twins at each other. You just need to do this twice to win the fight. With this win you'll advance to Rank 10, which means you'll move up to the major leagues.

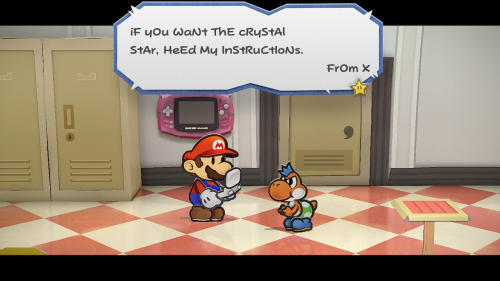
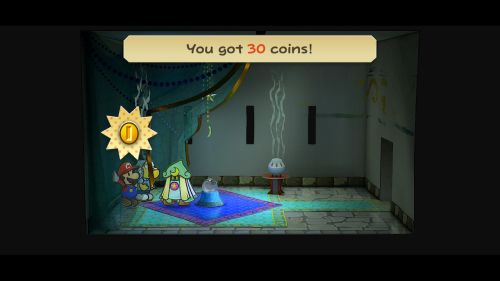
Once back in the locker room, Jolene will take you to see Grubba. He'll congratulate you for advancing and give you 30 coins. Jolene will then show you to the major league locker room. Once here, Rawk Hawk will enter and you'll notice that the Crystal Star on his belt seems to be fake after all. You'll then get an email from "X" suggesting that you need to follow their instructions to find the real Crystal Star.

If you check the lockers on the left side of the room you can find an Ice Storm and a Power Punch. When you're ready sign up for your next Ranked Match. It will be against "The Tiny Spinies", a set of two Red Spike Tops. They have very high defense and a spike that protects against jump attacks. You can flip them on their bellies with a POW Block or Quake Hammer, or use Yoshi's Gulp attack.

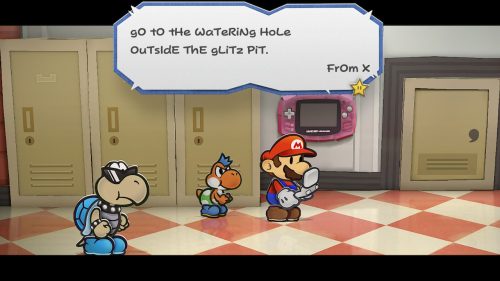
Heal up and then take on another Ranked Match, this time against "The Poker Faces". This fight will be against two Bristle enemies. You won't be able to get close to these guys with any normal attacks so your best bet is ranged attacks like Quake Hammer or Earth Tremor. They only have 2 HP each so you can also take them out quickly with some well executed super guards. After the battle you'll get another email from "X" suggesting you go to the watering hole outside the Glitz Pit.

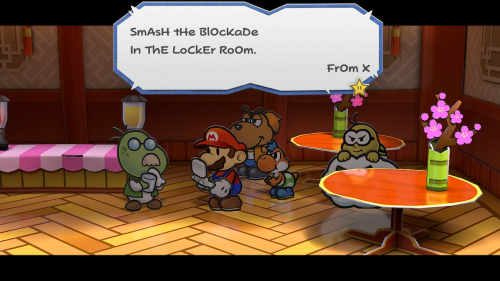
Exit the Glitz Pit and head over to the juice bar on the east side of town. Speak to the man polishing a glass inside and he'll give you a package that was left by someone else. Inside is the Super Hammer. This allows you to break large yellow blocks and increases your hammer's power in battle. Right after you'll get another email from "X" suggesting you should smash the blockade in the locker room.

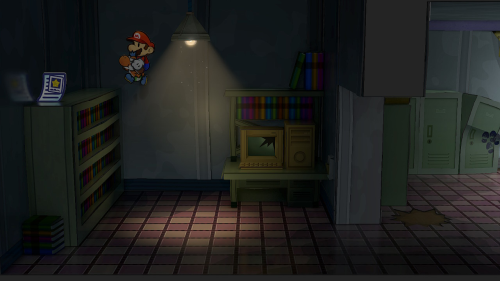
Head back into the Glitz Pit and try to enter the minor league locker room. You'll be let in for some reason. Use your new Super Hammer to destroy the large yellow block to the left. You can then climb the bookcase and use Yoshi's flutter jump to reach the Dubious Documents. Jolene will then enter the locker room and take your papers and tell you to get out.

Head back to the major league locker room and enter your next fight. It will be against "The Shellshockers". They are a set of Shady Koopas (one is a Paratroopa). You want to be very careful about knocking these guys on their back without taking them out the same turn. Once on their back they have a very powerful attack that deals 6 damage to Mario and your partner. It's best to focus on just one at a time because of this. After you defeat them, "The Iron Adonis Twins" will storm the stage to seek revenge. They should be pretty easy to take out, as long as you saved enough FP to use Yoshi's Gulp attack a few times.

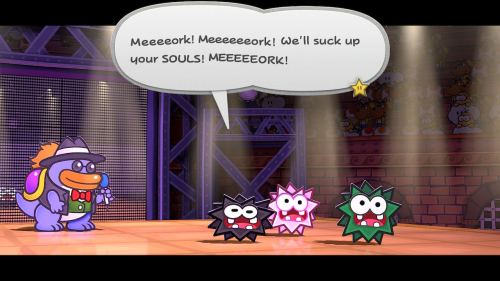
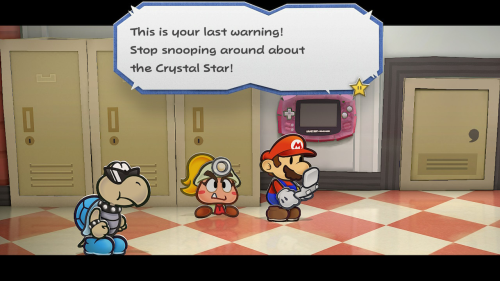
After this battle you'll get another email from an anonymous source, seemingly different from "X". This one is quite threatening and suggests you stop snooping around. Don't worry about that and instead rest up and then sign up for another Ranked Match. It will be against "The Fuzz", a group of three Fuzzies of different colors and strengths. The Green Fuzzy can multiply and the Flower Fuzzy drains your FP so it can use powerful attacks.

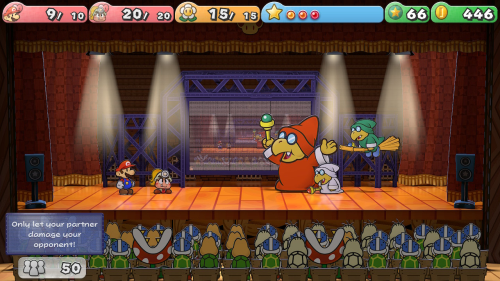
After you win you'll find a piece of cake from a fan waiting for you in the locker room. Go ahead and eat it to get a full recovery. Sign up for the next Ranked Battle against "The Magikoopa Masters". These guys can be pretty tricky since they all have different magical abilities and you need to spend 3 turns using Tattle. If they end up cloning themselves, you can simply use Flurrie's Gale Force attack to clear out all the clones.

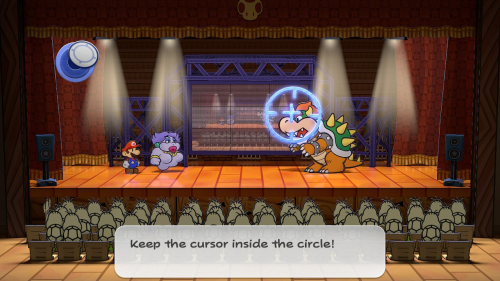
Once you win this battle, Bowser will storm the stage. You'll need to battle him as well. It's a pretty basic fight, but Bowser has 30 HP so you'll have to slowly whittle it down. The main thing to keep in mind is that Bowser's ground pound attack can prevent you from using certain moves for awhile.

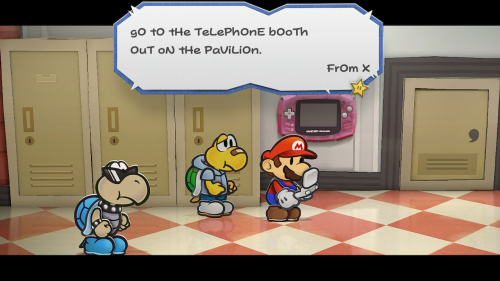
Back in the locker room, make sure to heal up and then sign up for another match. It will be against "Craw-Daddy", a Dark Craw with 20 HP. It has high attack but low defense. You won't be able to use Jump attacks if its spear is pointed upwards. After winning the battle, you'll get another email from "X" telling you to check out the telephone booth.

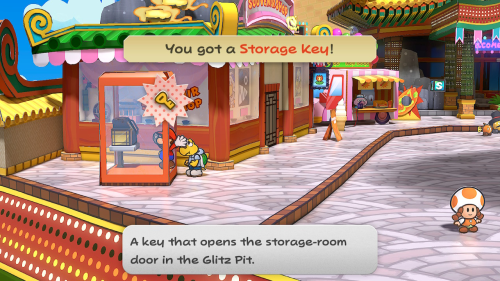
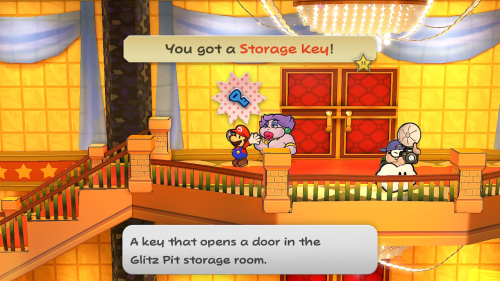
When you exit the locker room you'll get a threat from Rawk Hawk to stop stealing his spotlight. Continue outside to Glitzville and check the telephone booth on the west side of town. You'll find the Storage Key. You'll then get another email from "X" telling you to check the storage room next to Grubba's office.

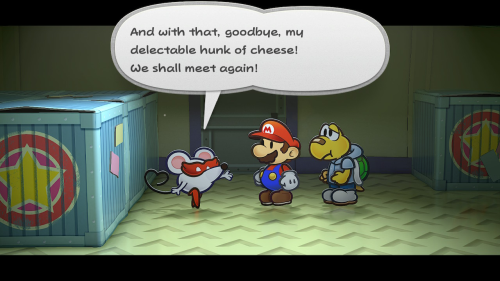
Head back inside the Glitz Pit and check out the storage room. You'll see Jolene outside scolding a guard for letting someone in. They'll both leave and you can use the key to enter the room. Inside you'll find Ms. Mowz who suggests that someone else must have been in here too. You'll get another email telling you to find a switch in this room.

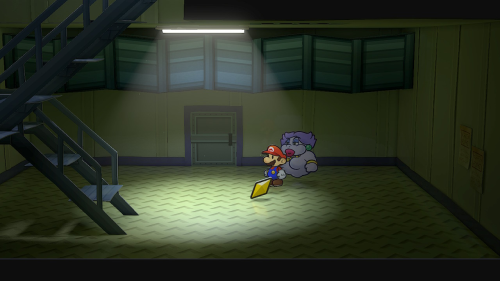
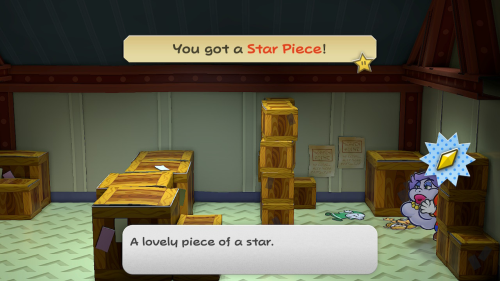
The key to this room is using Flurrie's gust ability to blow on the boxes. This will reveal that they are all actually yellow blocks you can smash with your hammer. In the right corner you can find the Charge P badge. In the left corner you can find a switch that reveals a staircase to the attic. Additionally you can ground pound in the center of this room to find Star Piece #52.

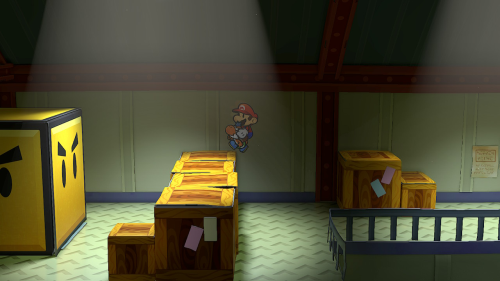
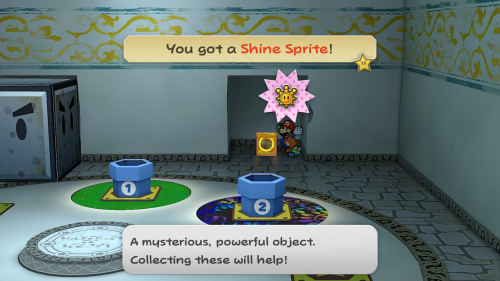
Head up the stairs where you'll find Shine Sprite #11. Head to the left side of the room and use Yoshi's flutter jump to get on top of the boxes. You can then use your Super Hammer to destroy the large yellow block. You can then use Yoshi's flutter jump again to grab the HP Plus P badge on the box in the corner.

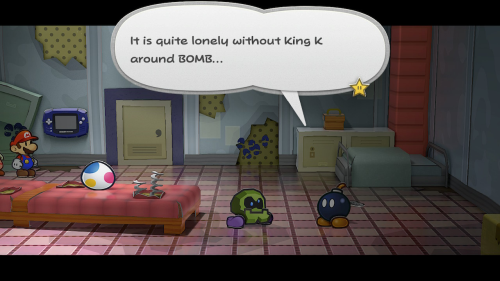
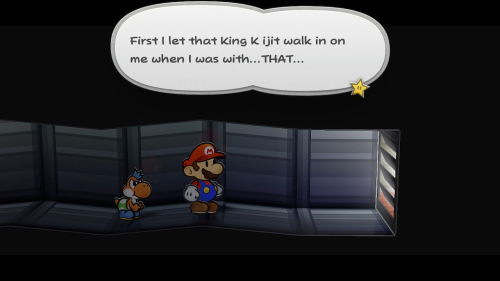
Drop down into the hole here to reach a crawl space. There is a small hole to the right that you can use to eavesdrop on a conversation below. Grubba and Jolene are talking about covering up the disappearance of King K., also known as KP Pete. Grubba also questions Jolene about the Crystal Star, which she suggests she knows nothing about. Head to the left and use paper mode to slide through the grate back down into the storage room.

Head back to the major league locker room and sign up for your next battle. It will be against "Hamma, Bamma, and Flare". This is a group of three different Hammer Bros. These guys can deliver some serious damage, so it might be best to knock each out as soon as you Tattle it, so you don't have to tank the damage from each. Remember that the Boomerang Bro's attack also hurts you on the way back. After winning, you'll get another threatening email telling you to stop snooping around.

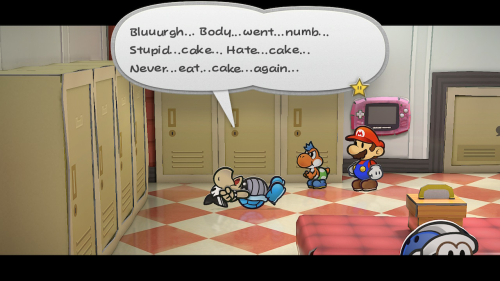
Sign up for your next Ranked Match against "Chomp Country". Jolene will deliver another piece of cake before you start this battle. DO NOT EAT IT! This time around it's poisonous. This battle will be against two Red Chomps. They have high attack and defense but fairly low HP. Moves like Yoshi's Gulp, Piercing Blow, and Fire Drive are great options to get around the high defense. Once back in the locker room you'll see that another fighter ate the poisoned cake and isn't doing so well.

Heal up and then sign up for the next battle against "The Koopinator". He's a Dark Koopatrol who has fairly high attack, decent defense, and 25 HP. It has the ability to charge up it's next attack for extra power. The spike on it's head prevents the use of most jump attacks. Yoshi's Gulp attack and moves that ignore defense like Piercing Blow are good options. Another good strategy is to use Koop's Shell Shield to protect mario from the more powerful attacks.

You'll get another email from "X" telling you to remove the Great Gonzales posters from the lobby. You can do so by using Flurrie's gust to blow down each poster. The most important one is upstairs to the left of the door. Behind it you'll find another Storage Key. Another email from "X" will tell you to go to the second floor of the storage room to use it.

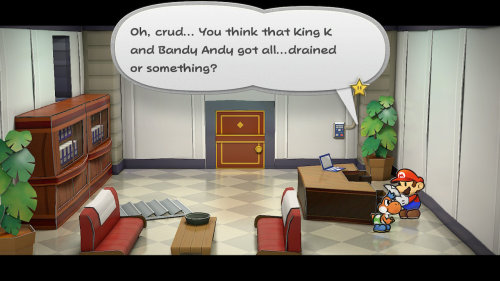
Head up the stairs in the storage room and use the key on the door to the right. Use Yoshi's flutter jump to reach the right side of the room. Then use your Super Hammer to destroy the large yellow block. Under it you will find the flatened bodies of Bandy Andy and King K. If you speak to Bandy Andy he'll warn you not to visit the arena when no-one is around. You can then check behind the stack of three wooden crates to the right to find Star Piece #53.

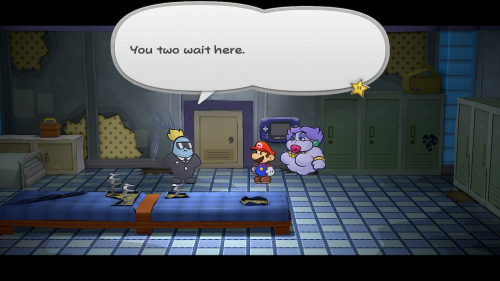
As you leave this room, you'll see Jolene peeking her head in and catching a glimpse of you. Head back to the major league locker room and sign up for your final Ranked Match against Rawk Hawk. However, instead of being taken to the arena you'll be taken to another minor league locker room where you'll be locked inside. The match will begin but since you haven't showed up there is a threat of forfeit.


You now need to escape this locker room. You can check the lockers for a few coins if you want, but the escape route is via the peach poster to the right. Use Flurrie to blow it down to reveal a passageway to another locker room. You can find a Life Mushroom by checking a locker to the right. This one is locked as well, so enter the bathroom to the right instead. Enter the toilet which will send you through the pipes back to your normal major league locker room.

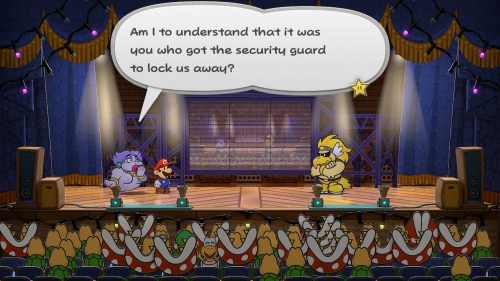
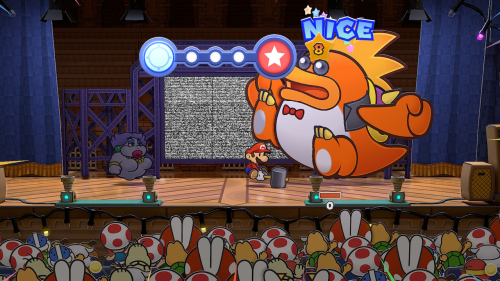
From your normal locker room you can exit and then enter the arena. As it turns out, Rawk Hawk did have you locked up and sent you the poisonous cake. However, he is not involved with the Crystal Star or disappearing fighters. Make sure to start the battle with a Tattle. Rawk Hawk has decent attack, low defense, and 40 HP.

If you have your action commands down well then simple attacks like Multibonk and Power Smash are great options. When his health is getting low he will hang from the raftors which will cause many items to fall on you, so be prepared to time guards against them. Jump and hammer attacks won't work when he is hanging from the rafters, so try something like Flurrie's Body Slam instead.

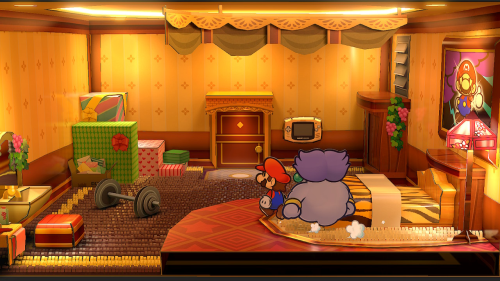
After winning you will get the Champ's Belt and you will become the new Glitz Pit champion. You'll also get a hefty 100 coins for winning the battle. Jolene will then show you to the champion's locker room. Once inside, you'll hear a voice coming from the vents. You'll then get an email from "X" telling you to investigate this ghost. First, you should rest in the champion's bed which fully fills your HP, FP, and SP.

Jump up on the presents on the left side of the room and then use Yoshi's flutter jump to reach the vent. Use your Super Hammer to smash it up and head through the duct. You'll overhear Grubba talking about how he made the other fighters dissapear and how he plans to do the same to you. As it turns out, it was Grubba and not Jolene who was behind this mystery after all.

Bust through this vent into Grubba's office. Check behind the plant on the left side of the room to find Star Piece #54. Then head over to Grubba's desk and check the right drawer to find Star Piece #55. Then check the left drawer of his desk to find a paper that reveals the location of the Crystal Star. It's being used in a machine under the ring.

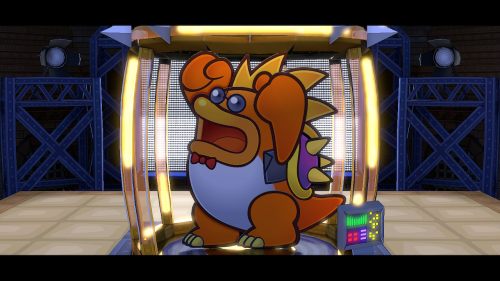
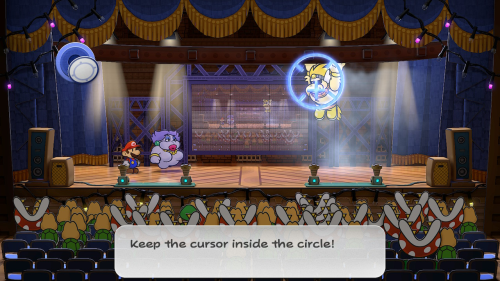
Unfortunately, Grubba catches you in the act as you are reading the paper. He'll run out of the room and you'll need to chase him. Head to the right to enter the arena. Here you'll find Grubba who reveals his Crystal Star machine. He has been sucking power from fighters to keep himself young. Pretty dark stuff. He then uses it to power up into Macho Grubba, the true final boss of this chapter.

Similar to Rawk Hawk, Macho Grubba has high HP (60) and decent attack but no defense. However, he can power himself up and increase the number of times he can attack. He can stack many buffs at once, so if he gets too strong remember you can use Koops's Shell Shield. There's not much else to this battle, just keep plugging away using attacks that are appropriate depending on what buffs Grubba has.


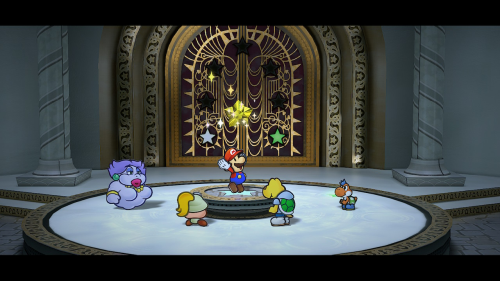
After winning the battle, Jolene will enter and tell you her story. She is the sister of Prince Mush, a former champion who went missing. She had discovered Grubba's secret and she was the "X" giving you clues. It seems that defeating Grubba reverses the power of the machine and Prince Mush is able to reappear. Jolene agrees that you should have the Crystal Star for what you've done. Your star power will increase and you'll learn the special move Power Lift.

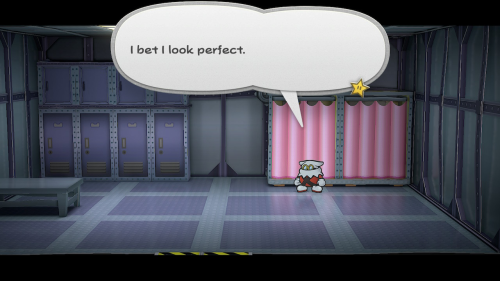
The chapter will end and you'll be back in the X-Naut's hideout in control of Peach. Exit through the hallway to visit TEC once again. He wants you to ask Sir Grodus a question. Exit the room and take the elevator up. After the soldier passes you can head to the right and enter the room. Grab the soldier's uniform from the locker and change in the nearby stall.

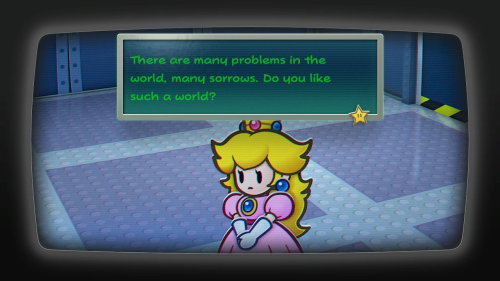
You will now be disguised as an X-Naut soldier. Head to the right to enter Sir Grodus's throne room. You will then approach him and ask what he plans to do with Princess Peach. He doesn't reveal much, but he does suggest that no-one should treat her roughly. You can then change back into your dress and head down the elevator. You will report to TEC once again and he can't give you much information, but does let you send Mario another email.

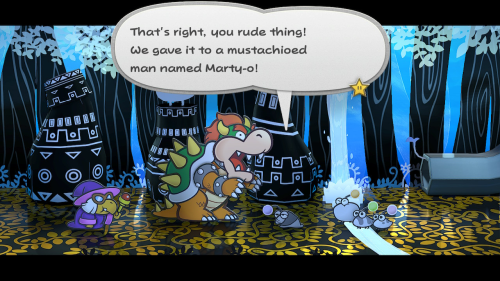
You will now find yourself in the Great Boggly Tree in control of Bowser. Check behind the bushes in here to find all of the Punis. As per usual, Bowser is looking for the Crystal Star and is a little behind. Once he finds out there is no Crystal Star here, he vows to find the next one before Mario.

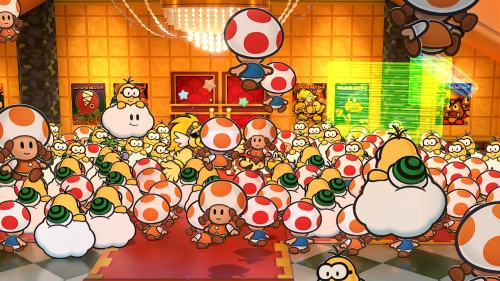
You'll then find yourself back at the Glitz Pit as Mario. The whole gang of fighters are here and looking healthy. Jolene will take over running the Glitz Pit, hopefully in a legitimate way this time. That's all there is to do in Glitzville for now, so speak to the Cheep Cheep conductor in the town square for a blimp ride back to Rogueport.

Shortly after you arrive back in town you should get that email from Princess Peach. It's a simple warning about the X-Nauts and their plans. While on this side of town, you can check the lottery board and catch up with Luigi. Then head over to East Rogueport. Head east to the bridge and use Yoshi's flutter jump just south of the bridge to cross over to the other side where there are several crates. Use those crates to get on the roof and do a groud pound to reaveal Star Piece #56 in a hidden floor panel.

Then use Yoshi's flutter jump to reach the roofs to the left. You can find Star Piece #57 behind the chimney on the next roof. Hop up on the red roof behind you and you can find Shine Sprite #12 in a block. On the far left side of these roofs you can speak to a character named Grifty. You can pay him 5 coins to hear various stories about Rogueport.

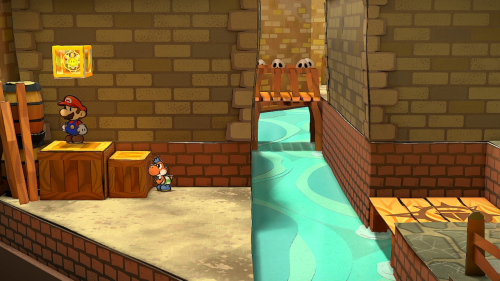
You can then hop off these roofs behind the chimney to get behind the buildings. Then use Yoshi's flutter jump to reach Shine Sprite #13 on the other side of the water. Flutter back across and slip through the gap in the buildings to exit this area. Then use the pipe on this side of town to get to the sewers.

Take the first pipe through the grates down to sublevel two and then the pipe directly below you to sublevel three. Use your Super Hammer to break the large yellow block here. Under it was a spring that lets you reach the platform above. This creates a small shortcut to the Thousand Year Door room. Enter it and present your Crystal Star to the Thousand Year Door. It will point you to a wooded section on your map to the west.

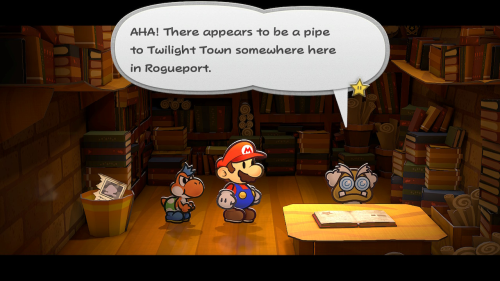
This will take you back to Professor Frankly's house. He shares a theory about the treasure actually being a creat cataclysm that the X-Nauts are trying to bring about. He reveals that the next crystal star is in Twilight Town. He suggests that the pipe leading there can be found in the west sewers.

Before heading to the west sewers take the pipe in the plaza to the warp pipe room. A warp pipe to Glitzville will spawn here when you do. You can now use the Super Hammer to break the large yellow block along the rear wall. Behind it you can find Shine Sprite #14. Note that in the GameCube version of the game, breaking the large yellow block reveals a spring to a second level where you'll find the Shine Sprite instead. Exit the warp pipe room using the green pipe.
Now that we have the warp pipe activated, it's not a bad time to take care of the available Trouble Center Quests for this chapter. Feel free to skip to the next section if you're not interested.

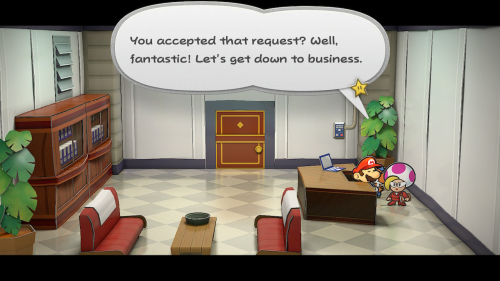
Jolene needs some help cleaning in the Glitz Pit. Use the warp pipe to get to Glitzville and head to the promoter's office, which used to be Grubba's office. If this is your first time entering since your fight, Jolene will first sign you up to be a fighter again, starting over back in the minor leagues. Speak to her again to take on her request.

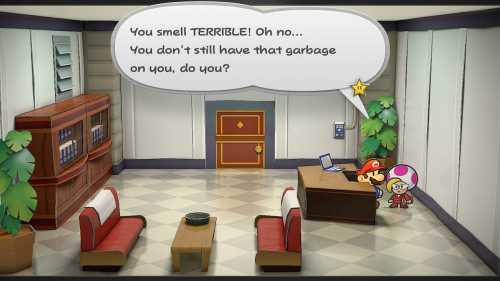
She wants you to clear out the garbage in the storage room, which is one door to the left in this hallway. Inside you'll find a bunch of dirty laundry. You'll have to make use of Yoshi's flutter jump to reach them all on the scond floor. When you've picked up all the Battle Trunks return to Jolene and she tells you to get rid of them by pawning them off on Goomfrey in Rogueport.

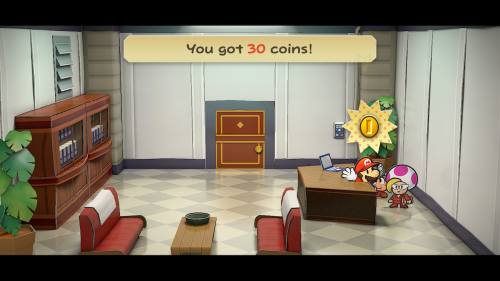
You can find Goomfrey in East Rogueport. After handing over each pair of Battle Trunks one by one he tells you to get your reward from Jolene. Head back to her office and you'll be rewarded with 30 coins. More importantly, doing this quest unlocks the ability to fight the former champ Prince Mush in the Glitz Pit later on. He'll send you an email when he's ready to fight. While you are in Glitzville, it's a good idea to buy two Hot Dogs for a later quest.

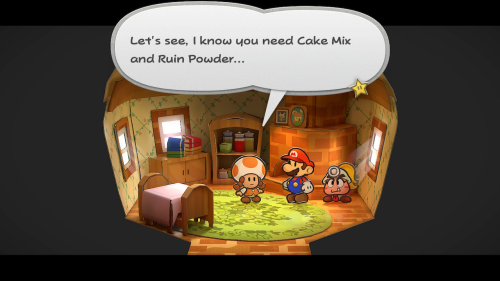
Speak to Merlee in sublevel one of Rogueport Sewers. You can take the East Rogueport pipe and take the second pipe to the right to enter the background to enter Merlee's hut. Speak to her and she'll ask you to get the Heartful Cake recipe from Toce T. in Petalburg. Take the warp pipe there and enter the eastern most house. Toce T. will give you the recipe which is a Cake Mix and a Ruin Powder.

Head back to Rogueport and purchase a Cake Mix for 6 piantas at the Pianta Parlor if you don't already have one. It's a good idea to pick up a second one for the next quest as well. Head back to Merlee in the sewers to give her the recipe and Cake Mix. She'll give you 30 coins as a reward.


Bub-ulber from Petalburg wants you to bring him a variety of food. To save several back and forth trips you can prepare this food ahead of time. If you don't already have them, you'll want to go buy two Hot Dogs from Glitzville. You'll also want to bring Zess T. a Cake Mix (you can get one as a reward from Pianta Parlor) to bake into a Mousse Cake.

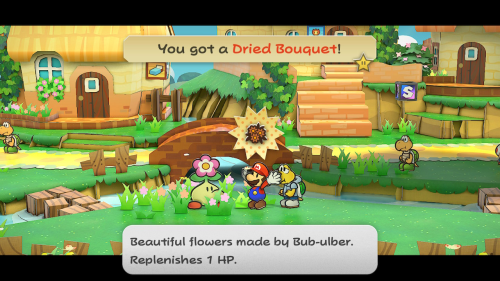
Take the warp pipe to Petalburg and speak to Bub-ulber on the west side of town. Deliver each of the food items he requests one by one. After you do he will reward you with a Dried Bouquet. These are pretty terrible on their own, but they can be cooked with various other ingredients to create powerful healing items. You can get more by trading Bub-ulber a Hot Dog.

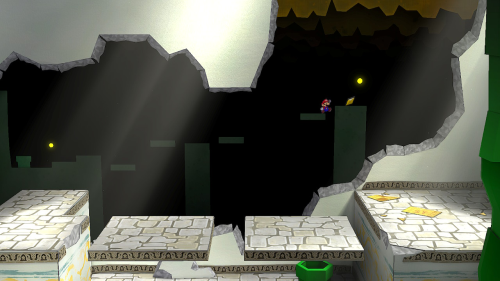
Head over to West Rogueport and use the grate to enter the sewers. As soon as you land you can use Yoshi's flutter jump to reach a new platform the left. Here you can find Shine Sprite #15. Enter the pipe here to reach the background. Complete the small platforming section and you'll find Star Piece #58 to the right.

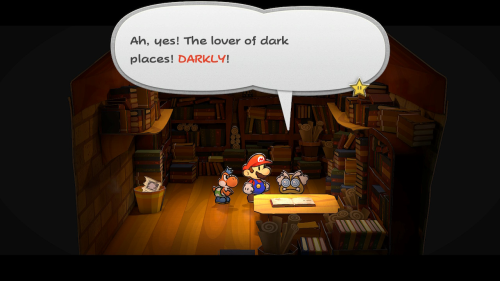
Enter the door on this left platform and you'll find a room with a brown pipe. If you try to enter it, the pipe will reject you. Exit the sewers using the pipe to the right and speak to Professor Frankly. He doesn't know how to solve the problem but points you towards Darkly, who is from Twilight Town.

You can find Darkly in the alley behind these buildings by taking the hidden entrance to the left. Speak to Darkly and you'll find out that to get through the pipe you simply need to carry something with your name written on it. He'll take the liberty of writing your name on your overalls for you. While you are on this side of town, speak to Merlon to upgrade your Yoshi partner.

Before leaving Rogueport, make sure to pick up any badges that you might want from the various shops around town. Remember to spend the Star Pieces we've been collecting at Dazzle's shop. Whenever your ready head back to West Rogueport and enter the sewers through the grate. Use Yoshi's flutter jump to the left once again and enter the door. Head through the brown pipe and this time you'll get through to Twilight Town, starting the next chapter.
Back to Chapter 2: The Great Boggly Tree | Continue to Chapter 4: For Pigs the Bell Tolls
