

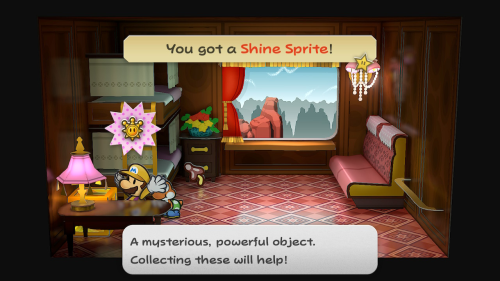
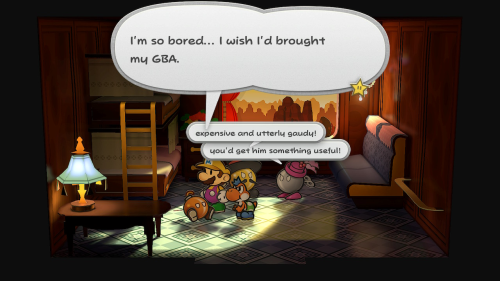
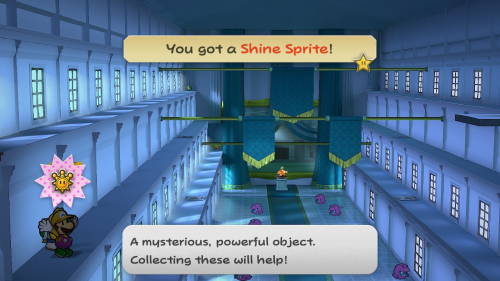
The chapter will begin in Mario's cabin on the Excess Express. You will find a note on the floor of your cabin with a threat to stay away from Poshley Heights. Afterward you can whack the box to the left to get Shine Sprite #33. You can also find a Dried Mushroom in the drawer next to the bed.

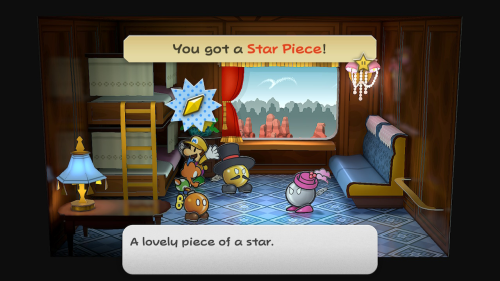
Exit your room and enter cabin four to your right. Do a ground pound on the floor here to find Star Piece #80 under a hidden panel. Exit this room and head to the left to find the dining car and an item shop. One more car to the left you'll find some more cabins. Enter cabin eight where you can speak to wealthy family. You can also open their drawer to steal Star Piece #81.

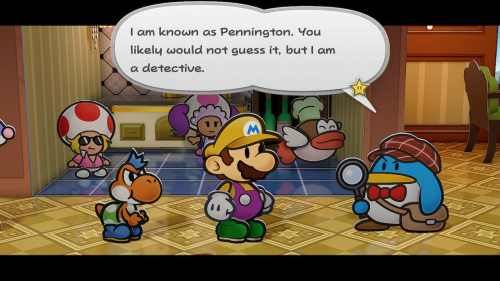
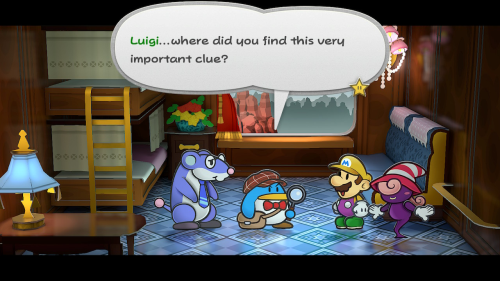
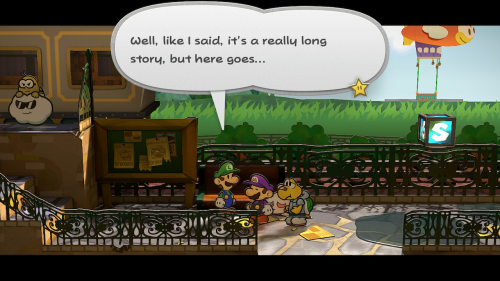
Back in the hallway, speak to the conductor Toad to the left and show him the threatening note you received. You'll find that no-one else is in their room, because they've all gathered in the dining car. Speak to them and you'll learn that a pot of stew has been stolen from the kitchen! You'll be introduced to the penguin detective Pennington. After he throws around a few baseless accusations, you might be better off solving this mystery yourself.

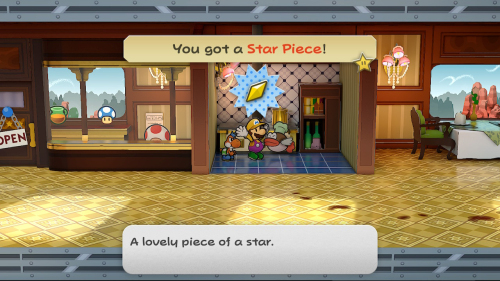
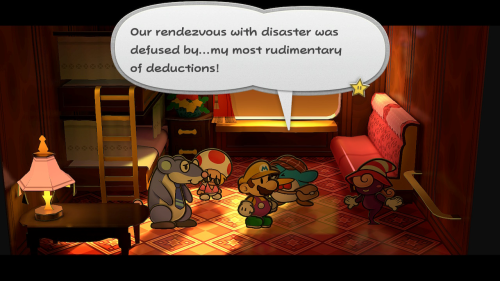
Follow the trail of stew to the right and it will lead you to cabin three. Check the culprit's drawer to find an empty Galley Pot. Detective Pennington will join you to take some credit and suggest you meet him about the threatening note you received. Return to the dining car and speak to the chef to return his pot. He'll reward you with Star Piece #82.

Now head left to car four and enter cabin six. Speak to Pennington, who believes you are Luigi, and he will take you on as his assistant. Head over to cabin eight and speak to the Ba-bomb family. You'll need to figure out what the little Bub wants for his birthday.

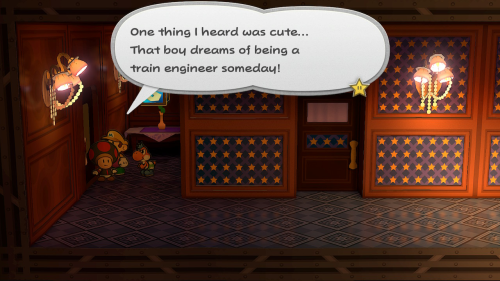
Exit this cabin and speak to the conductor Toad guarding the baggage car. He has overheard that the little Bub wants to be a train engineer someday. If you return and speak to Bub again you'll learn that he wants someones autograph.

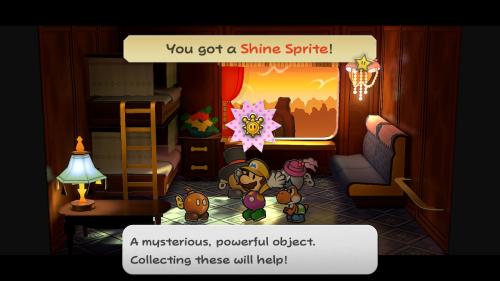
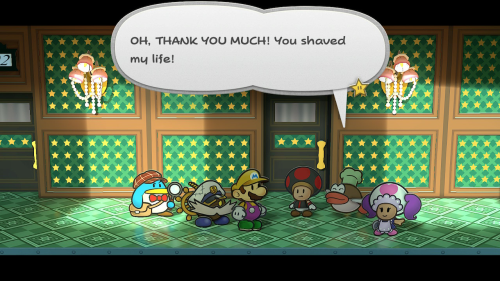
Head to the far right of the train to the engineer's car. Do a ground pound shortly after entering to find Star Piece #83 in a hidden ground panel. Speak to the engineer and he'll give you his Autograph. Return to cabin eight and give him the autograph for his birthday. He'll reward you with Shine Sprite #34 for your efforts.

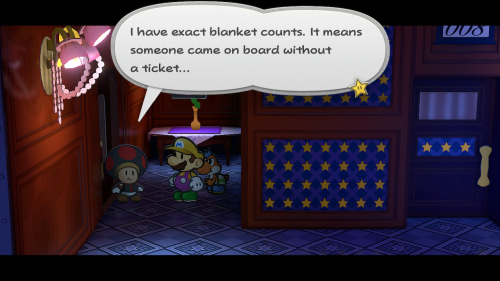
You'll notice that time seems to pass on the train after completing certain events. It should now be nighttime. Speak with Pennington again to learn that the conductor came looking for you. Speak to the conductor in front of the baggage car again. He wants you to find a stowaway who took a missing blanket.

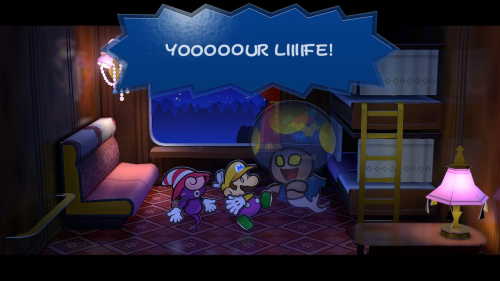
Return to cabin three and speak with the stew-stealing culprit from earlier. He's heard some suspicious noises coming from cabin four, so head over there to check them out. Use Vivian to sneak into the shadows and you'll find a ghost Toad. Speak to him and he'll agree to trade the extra blanket for his old diary that can be found in the baggage car.

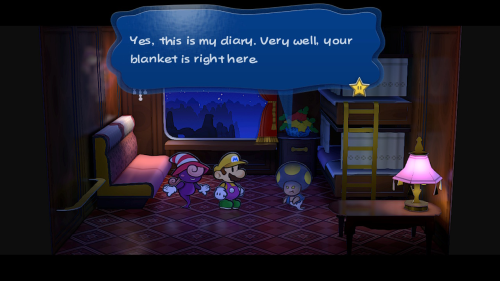
Speak to the conductor again to enter the baggage car. Sneak through the crates and open the chest to find the Ragged Diary. DO NOT READ IT (unless you fancy a game over). Return to cabin four and place the diary in the drawer. The ghost will then hand over the Blanket for your efforts.

Return to the conductor and hand over the blanket. He'll thank you with a Super Mushroom. You can now return to cabin five and head to bed for the night.

The next morning you can return to cabin six and speak with Pennington. It seems that one of the passengers has had a briefcase stolen that contains some explosive honey. Some of the other passengers have also lost the items required to make the explosive concoction.

Head to the far right of the train and enter cabin one. Inside it you will find a Vital Paper. Then return to Pennington in cabin six to tell him about it. This was apparently a business contract related to the special honey. Pennington suggests you find Zip Toad, whose cabin you found the note in.

You'll now want to return to Mario's cabin (cabin five). Here you'll find another document from the briefcase. Have Vivian pull you into the shadows and you'll see Zip Toad emerge from under the bed. Reappear from the shadows and he'll start jumping around the room. Give him a whack with your hammer to stop him.

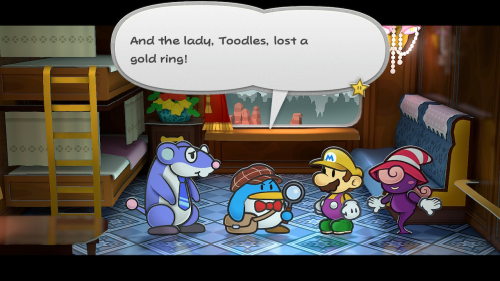
You'll then find yourself back in Pennington's cabin where he'll confront Zip Toad. He will return the Briefcase, Shell Earrings, and Gold Ring. You'll then be able to return the briefcase just as the train pulls up to its first stop at Riverside Station.

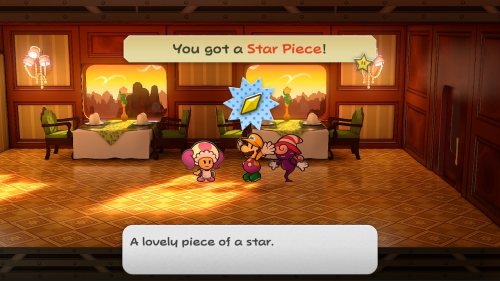
When you arrive, you'll find that Zip Toad was really just Doopliss in disguise. Before leaving the train, speak to the waitress and return her earrings to get Star Piece #84. You can also return the Gold Ring to the lady in cabin two to get 30 coins.

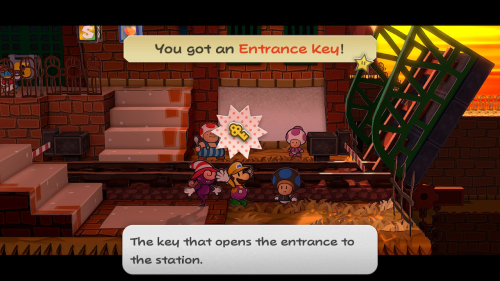
Exit the door in car one onto Riverside Station. Head down the stairs to the east and speak to the blue toad. It turns out that someone has raised the drawbridge, so the train can't leave until it's fixed. He'll give you the Entrance Key so you can find the control room.

Head up the stairs behind the train and enter the station using the key. Head to the right through the first room. Use tube mode to roll under the grate in the next room and hit the blue switch. This creates a set of stairs that you can take up to the second floor.

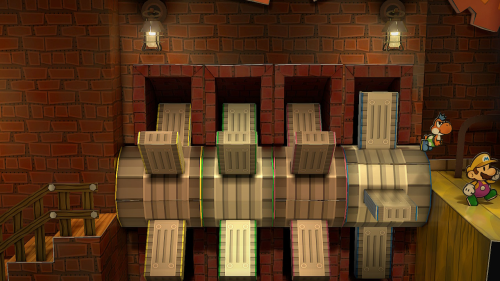
In the Machinery Room you'll encounter some enemies for the first time this chapter. These are Ruff Puffs, an electrified version of Dark Puffs. Head up the stairs where you'll see four rotating gears. You'll need to time your jumps as the gears stop to make it through. Every other yellow stop lines up with a green stop. Once you land on purple, you'll need to jump back to green before you can finish jumping to the right and get to the other side.

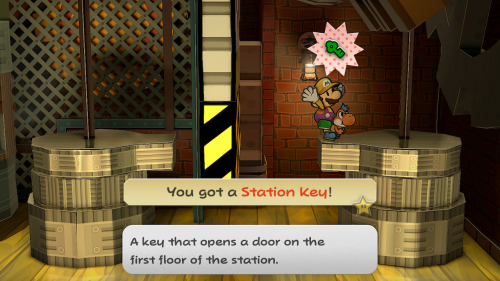
Roll under the gear and then hit the ? block for an Ice Storm. Now stay on this gear and jump on the staircase-like gear to the right when the rotation lines up. You can use it to reach the next gear where you'll need to do a carefully timed flutter kick with yoshi to get the Station Key.

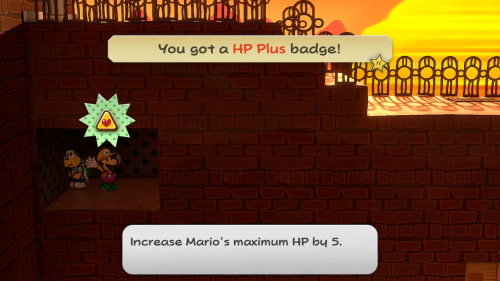
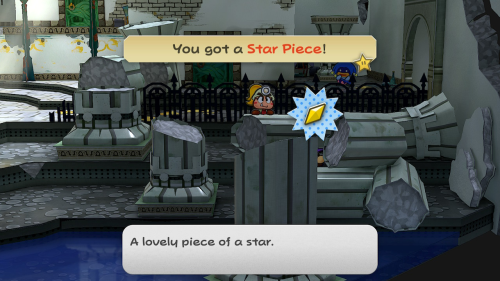
Check behind the gear with the key to find Star Piece #85. Exit this room and head down the stairs to open the locked door on the right. Here you'll find some Poison Pokey enemies for the first time. Use tube mode in the slot at the bottom of the stairs and you'll find a HP Plus badge in a hidden alcove.

Drop down from the alcove but make sure you head back to the right. There are more enemies over here but more importantly you'll find Shine Sprite #35. Head back to the left and when you come to the dead end use Flurrie to blow away the flyers on the wall. This will reveal a door that you can take.

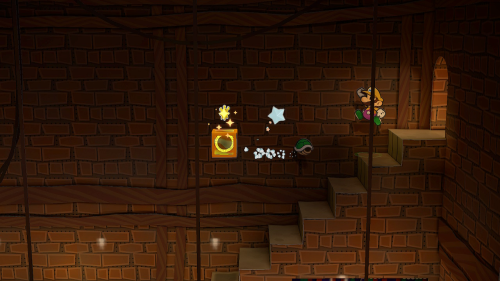
Defeat the enemies in this sublevel room and then roll into tube mode to enter the slide to the left. Take a right at the first fork and then jump over the gap. Fall down into the pit with the vertical coins and then jump over the gap to the left. This will lead you to an alcove where you can pick up a P-Up, D-Down badge. Now drop down into the next pit to the right and hold to the left to make it to the next area.

Take the door to the left to enter the office. Continue to the left and take out the three Goombas in this room. This will reveal three boxes that you'll need to whack with your hammer however many times is shown on the box. You can then press the red switch and a staircase will appear. Climb to the top of the next staircase and use Koops to get Shine Sprite #36 to the left.

In the next room is a large chest that you can open to get the Ultra Boots. These increase your jump attack power and allow you to do a spring jump by holding A and rotating the left stick. Use a spring jump to grab onto the pipe to the right to get to the other side of the room. Then use paper mode to slip through the grate.


Back in the office, use Yoshi to flutter jump over to the box under the pipe. Then use a spring jump to grab the pipe and get into the locked area. Use another spring jump under the platform to knock off the Elevator Key. Grab the pipe again to escape the cage and then backtrack all the way to the first room of the station.

First head left past the elevator and use a spring jump under the platform to knock off the Close Call P badge. Now use the elevator to reach the control room where you'll find a horde of fuzzy monsters. Whack them with your hammer to clear them out. You can then pull the lever and then hit the switch on the staircase that appears to close the drawbridge.
Exit the station and make sure to use the heart block if needed and save block. Return to the train and speak to the blue toad to get back on board. You can speak to the other passengers on the train one last time before heading to bed for the night.


In the morning, head to the front of the train to pay a visit to the engineer. After speaking to him, the train will be attacked by a horde of those fuzzy monsters. Make your way to the baggage car at the back of the train to find that the monsters have breached the train.

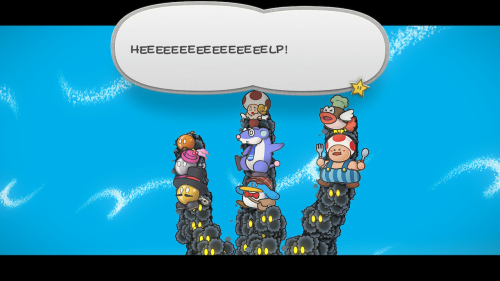
Whack the monsters with your hammer to save the waitress and the conductor. Then you can use a spring jump to grab the red pipe and exit to the left. Head to the right on the rooftop, clearing the monsters with your hammer as you go. When you get to the front of the train, the monsters will combine into one and take the other passengers hostage.

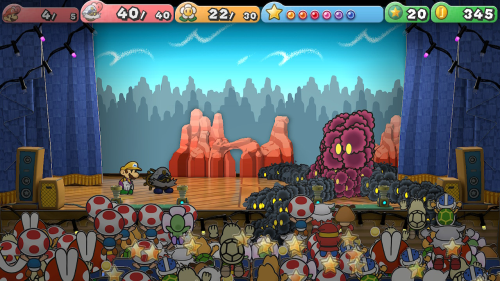
This monster is known as Smorg and you'll need to defeat it in battle. It has an HP of 50, an Attack of 5, and a Defense of 1. You'll need to take out the tentacles in this fight before you'll be able to deal damage to Smorg's body. Once they are all defeated you'll have a brief window to get a lot of damage in before they grow back. Admiral Bobbery is a good choice for dealing body damage.

Once the tentacles grow back, they will do so in the form of a claw. This claw can hit you and your partner for 10 damage a piece, so make sure to get rid of it quickly. Once Smorg is defeated, the passengers you saved will gather to thank you before you arrive into Poshley Heights.

Exit the train into the elegant city of Poshley Heights. You can ground pound in the pink circle in the center of town to find Star Piece #86 beneath a hidden panel. If you head to the east side of town you'll notice a small opening in the bushes you can walk through. Back here you'll find Star Piece #87.

Enter the blue house to the left and use paper mode to go through the slot in the back wall. You'll find a chest back here that contains an HP Drain P badge. Exit the house and check behind the blue pool chair to find Star Piece #88.

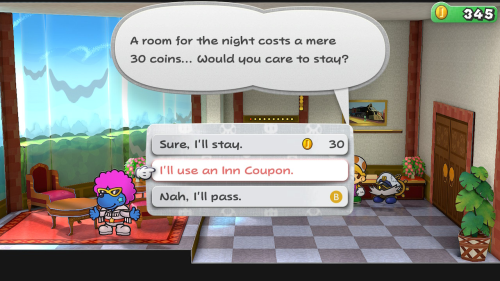
Head east to the next area and check behind the first hedgerow next to the blue house. Here you'll find Star Piece #89. If you'd like to stay at the luxury hotel in town, you can find an Inn Coupon behind the pasta cart.

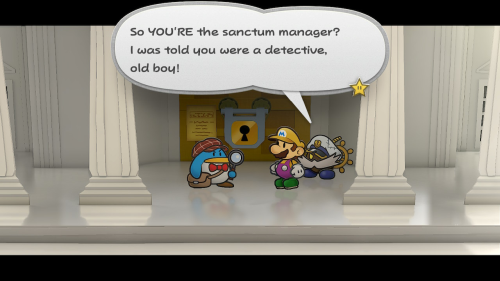
Continue east to find the massive Poshley Sanctum building. Before entering, use a spring jump to get Shine Sprite #37 to the right of the staircase. When you check the door to the sanctum, you'll find that the manager has gone travelling. But it's no concern, because he has arrived back in the nick of time and it's our pal Pennington.

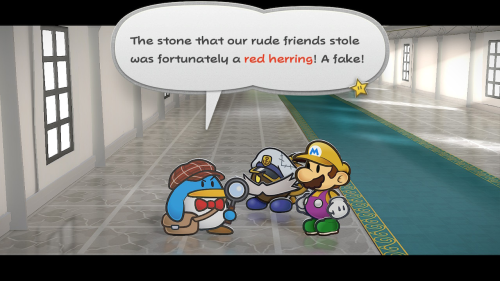
Enter Poshley Sanctum and you'll be just in time to find the Three (two) Shadows and Doopliss stealing the Crystal Star. Or - what they thought was the Crystal Star. It's actually a red herring and you'll need to find the real one.

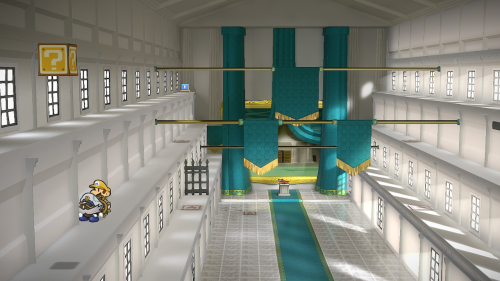
Head over to the star platform and use a spring jump to grab the bar above. Use it to get to the ledge to the right. You can use a spring jump near the front of the building to find an item block. But the main thing you'll need to do is keep using spring jumps on the star platforms to reach the top ledge on the right.

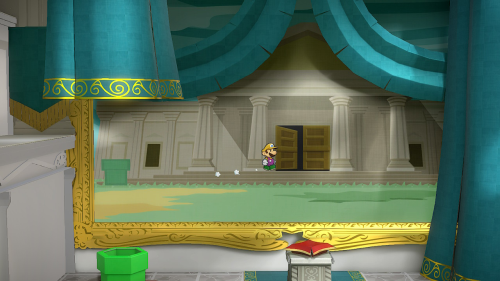
Use the airplane panel to reach one of the ledges to the left. Then use a spring jump on the star platforms to reach the blue switch on the top ledge. This switch lifts a curtain revealing a green pipe. The pipe will lead you into the painting behind you, where you can enter the real Poshley Sanctum.

There's a new enemy variant in here: the Dark Boo which is just a stronger purple Boo. Use spring jumps on the star panels once again to reach the top of the right ledge. You can use Koops up here to pick up the Boo's Sheet from the block. Then use the airplane panel to get to the left ledges where you'll find Shine Sprite #38.

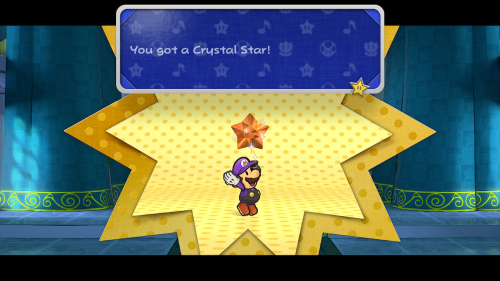
Continue to the top of the left ledge to find the L Emblem badge. You can use this 0BP badge to change into Luigi's clothes. If you combine it with the W Emblem badge you will wear Waluigi's clothes! Afterward hop down and collect the sixth Crystal Star. You'll learn the special move Showstopper, which gives you a chance to OHKO enemies. Exit this section of the Poshley Sanctum and speak to Pennington. He's seemingly fine with you taking the real Crystal Star.

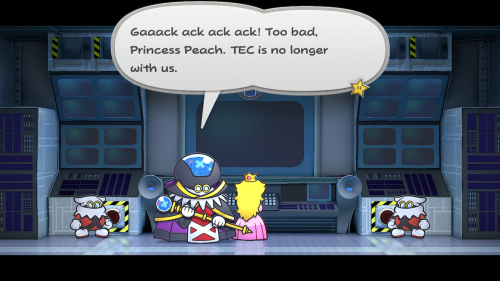
You'll now return to the perspective of Peach, after Sir Grodus is informed that the stolen Crystal Star was fake. Head to the right through the hallway to pay a visit to TEC. He decides to betray Sir Grodus and tell Peach about his evil plans. He tells her that she is imprisoned on the moon and insists that she escapes. Unfortunately, Sir Grodus interupts Peach's usual communication to Mario and shuts down TEC.

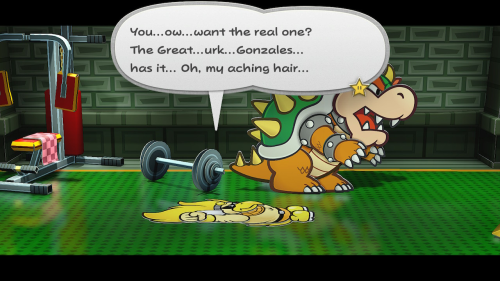
You'll now switch to Bowser's perspective in Rogueport. You'll then get to play another 2D Bowser level that resembles something from one of his classic castle levels. Bowser stumbles into the training room of Rawk Hawk, where he spots the fake Crystal Star on his belt. Bowser gets the best of him, but finds out Mario has the real star anyway.

After arriving back in Rogueport from the train, Mario gets a final email from Peach letting him know she is being held on the moon. Luigi is waiting by a bench here if you want to hear more about his adventure to find Marvelous Compass pieces.


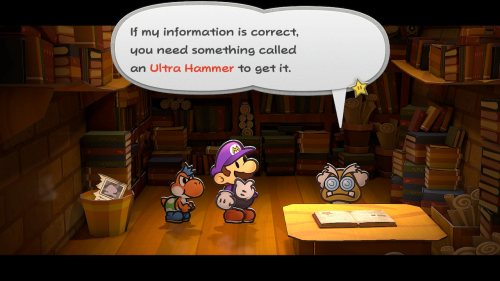
Return to central Rogueport and use a spring jump under the large chest to the right of the inn. This will knock it off the platforms so that you can open it and get the Ultra Hammer. You can now break large grey blocks. Having the Ultra Boots and Ultra Hammer will allow us to collect several goodies down in the sewers.

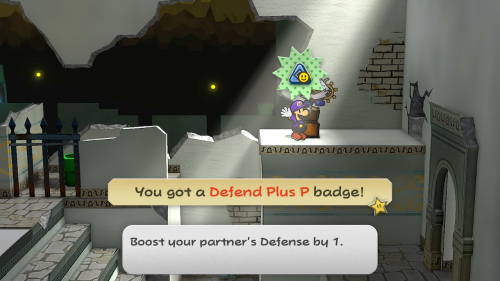
Enter Rogueport Sewers using the pipe in East Rogueport. Use the airplane panel to reach one room to the east. You can now spring jump under the pipe and then use Bobbery to blow a hole in the wall to the left. Open the chest you find on the other side to get a Defend Plus P badge.


Enter the room to the east once again and now spring jump under the right side of the pipe. Shimmy on this pipe all the way to the right and drop down and enter the pipe. Inside the house in the background you'll find Star Piece #90.

Head back left through two rooms and stop by Dazzle if you'd like to buy any badges. Just south of Dazzle, on the other side of the fence, you'll see several broken pillars. Check behind the one closest to the water to find Star Piece #91.

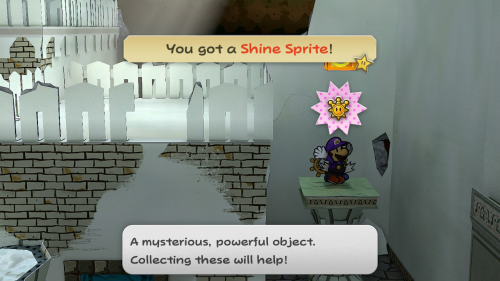
Continue to the left in this room and use the rising platform to reach the spot where water is dripping from a pipe above. Use this pipe to reach the roofs to the right and then drop down onto a platform where you can use another spring jump to get Shine Sprite #39.

Enter the room to the left and take the warp pipe down to sublevel two. Use paper mode to get through the grate and head to the left of the green pipe in the lower alcove to reach the hidden boat panel. Sail all the way to the right to the hidden room we visited earlier. There were a total of three Shine Sprites in this room, but there should be one remaining if you've been following along. Use a spring jump to get Shine Sprite #40.

Sail all the way back to the left and then enter the green pipe that we passed by before to get to the Pit of 100 Trials room. Continue to the right from here to pay a visit to The Thousand Year Door and deliver the latest Crystal Star.

You'll be taken to Professor Frankly where you'll find out that the location of the next Crystal Star is in fact, the moon. He doesn't know how to get there quite yet, but suggests you come back after he's done some research.

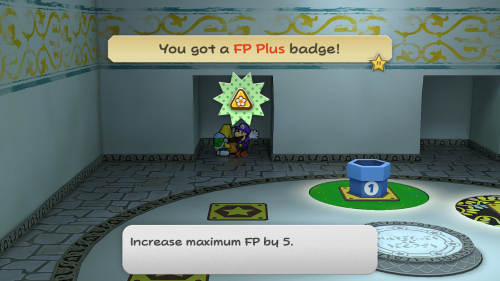
While we're waiting, head down the pipe in central Rogueport to visit the warp pipe room. A new pipe will spawn that takes you to Poshley Heights.You can now use your Ultra Hammer to destroy the large stone block in the back of the room. Behind it you'll find a chest containing a FP Plus badge.

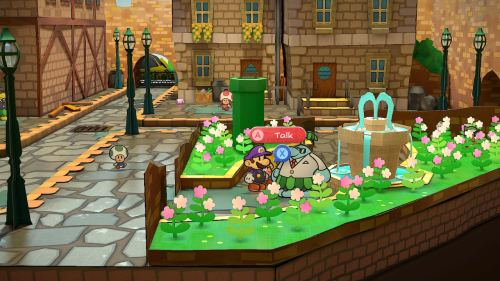
Frankie is missing something and wants you to speak to him in West Rogueport. Head over there and you'll find him behind the fountain. He's lost his wedding ring and needs your help to find it somewhere in town.

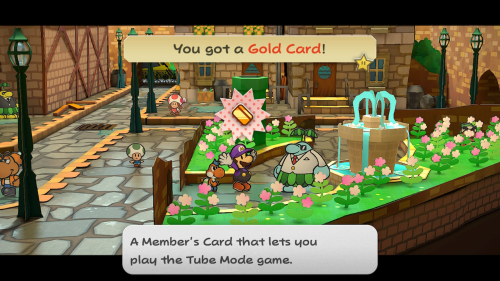
Head over to east Rogueport and you may spot the ring on top of the wall dividing the two sections of this area. Use Yoshi to cross over to the far east side and climb on top of the roofs. Jump on the wall and carefully shimmy over to find the Wedding Ring. Return it to Frankie and you'll get a Gold Card that lets you play the Tube Game in Pianta Parlor.

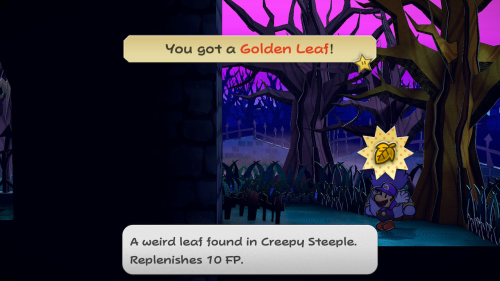
Chef Simi needs three ingredients for a new recipe: a Golden Leaf, a Mystic Egg, and a Keel Mango. If you don't already have these ingredients on hand, you'll need to travel to three different areas to get them. The Golden Leaf can be found by whacking a special tree in the back of the Creepy Steeple. Take the rear exit in the first room and the sneak through the gap in the fence on the balcony to find the tree.

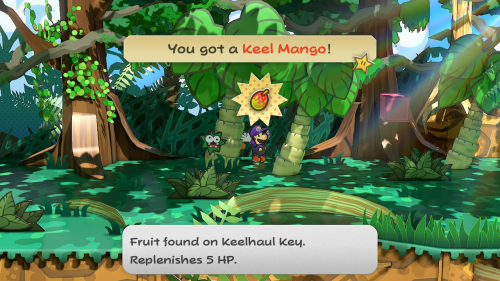
The Mystic Egg can be found by speaking with Petuni in the Great Tree. Play her "Stump Petuni" game and ask her the question "Mario likes which person the most?". The Keel Mango can be found by wacking the very first tropical tree to the east of camp in Keelhaul Key with your hammer.

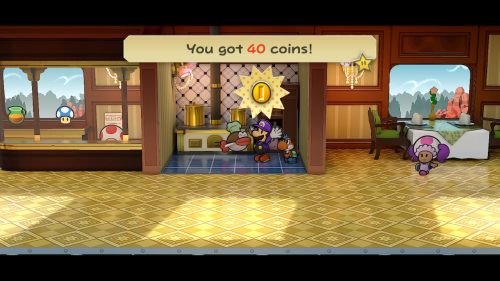
You can then visit Chef Simi by riding on the Excess Expres. Deliver him the three ingredients in the dining car and you'll get 40 Coins as a reward. You'll need to rest in your bed in cabin five to end the train ride.

Toodles wants her magazine back from Jolene. Pay her a visit at her house in Poshley Heights to start the quest. Then take the warp pipe over to Glitzville and enter the Glitz Pit. Speak to Jolene in the promoter's office to retrieve the Wrestling Magazine.

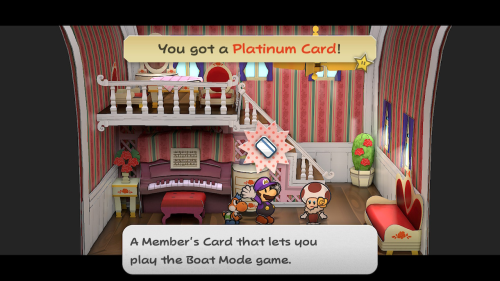
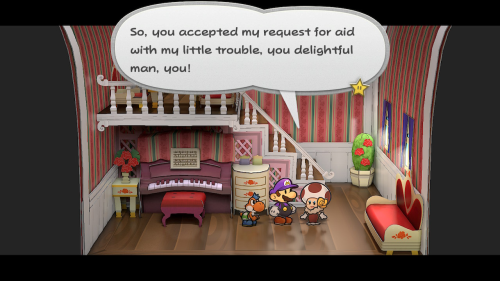
Return to Poshville and return the magazine to Toodles. You'll get a Platinum Card as a reward. It allows you to play the Boat Mode game in Pianta Parlor.

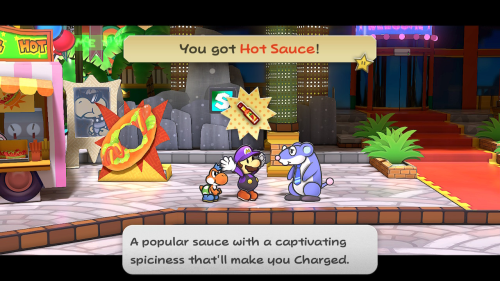
The Businessman has forgotten the code to unlock his briefcase. Take the warp pipe over to Glitzville and speak to him in front of the Glitz Pit. The code is based on the number of chairs in four locations: Koop's house (2), Flurrie's house (6), Don Pianta's office (2), and Toddles's house (5). You can go count them yourself, or just trust us that the code is 2625. You'll get some Hot Sauce as a reward for helping him get it opened.

Professor Frankly should now be ready with an idea about how to reach the moon. He suggests that you need to use a cannon in Fahr Outpost. The warp pipe to get there is somewhere in Rogueport Sewers hidden behind a gray block that requires the use of the Ultra Hammer.

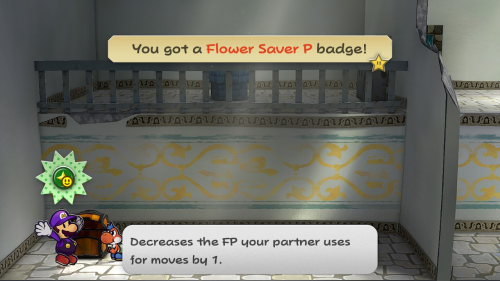
Head over to West Rogueport and drop down the grate to enter the sewers. Drop down off the platform and you'll see a red x on the ground. Use a spring jump to reach a pipe above and shimmy over to the left. Open this chest to find a Flower Saver P badge. Do another spring jump on this red x and shimmy back over to the right side and return to the surface.


Fall through the grate in West Rogueport once again and stay on the platform this time. Use yoshi to flutter jump over to the left and destroy the gray block with your hammer. You can then take the blue warp pipe to reach Fahr Outpost and begin Chapter 7.
Back to Chapter 5: The Key to Pirates | Continue to Chapter 7: Mario Shoots the Moon
